How To Run/Install Linux On Mac – 2018

Here is a simple, step by step, and easy to follow guide on how to install and run Linux on Mac. Follow these steps carefully to take advantage of Linux operating system on your Mac.
Steps To Install Linux On Mac.
Step 1. Download any Linux distribution file. You can choose any flavor of Linux that you want. Make sure that the file is in .iso format.
Download Ubuntu Desktop
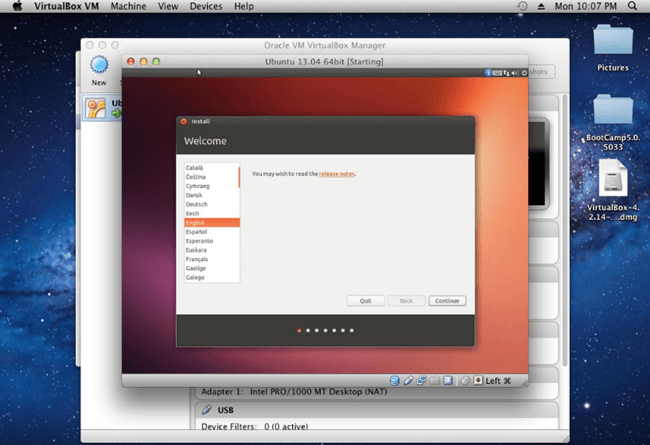
Step 2. Download Virtual Box or you can also try parallels desktop as it is more powerful. The link is given below.
Download Parallels Desktop for Mac

Download Ubuntu Desktop
Step 2. Download Virtual Box or you can also try parallels desktop as it is more powerful. The link is given below.
Download Parallels Desktop for Mac

Step 3. Open parallels desktop, then choose “File > New”.
Step 4. Then click on “Install windows or another OS from image file” and click continue.
Step 5. In the list of available iso image files, select the one you downloaded and hit continue.
Step 6. Fill out the details about username, password, Full name etc.
Step 7. There will now be a visualization file saved on the users folder but it can be changed to a different location as well.

Now Congrats, you have successfully installed Linux on your Mac. To run it, simply click it in parallels desktop control center.
In conclusion, this is the easiest and quickest way to run and install Linux on Mac.
If you need any help with the procedure, or have any query, feel free to leave a comment below.
Comments
Post a Comment